前言
设备:Pixel 2
系统:LineageOS 22——Android 15
直接跟着 Wiki 操作:Build for walleye | LineageOS Wiki
环境配置
- 配置 git
#安装git
sudo apt-get install git

#设置git身份
git config --global user.email "xxxx@qq.com"
git config --global user.name "xxxx"
- 配置repo
然后下载 repo,并配置初始化仓库时的 REPO 工具的仓库地址。执行如下命令:
#创建bin目录,并加入PATH
mkdir ~/bin
PATH=~/bin:$PATH

#安装curl
sudo apt-get install curl

#下载repo,并设置权限
curl https://mirrors.tuna.tsinghua.edu.cn/git/git-repo > ~/bin/repo
chmod a+x ~/bin/repo
同步源码
设置使用国内源拉取代码
export REPO_URL='https://mirrors.tuna.tsinghua.edu.cn/git/git-repo/'

#下载源码
sudo apt install git-lfs
git lfs install

#同步源码
repo init -u https://github.com/LineageOS/android.git -b lineage-22.2 --git-lfs --no-clone-bundle
构建项目
- 依赖安装
sudo apt install bc bison build-essential ccache curl flex g++-multilib gcc-multilib git gnupg gperf imagemagick lib32ncurses-dev lib32readline-dev lib32z1-dev libelf-dev liblz4-tool libncurses5 libncurses5-dev libsdl1.2-dev libssl-dev libxml2 libxml2-utils lzop pngcrush rsync schedtool squashfs-tools xsltproc zip zlib1g-dev
- 添加设备支持
source build/envsetup.sh

#选择设备
breakfast walleye
现在还缺少设备的专有供应商文件,我们从设备镜像提取。
工厂镜像:https://download.lineageos.org/devices/walleye/builds
Google官方镜像:https://dl.google.com/dl/android/aosp/bramble-tq3a.230805.001-factory-4fd0e3b4.zip?hl=zh-cn
从镜像提取:
cd ~/lineage22/device/google/walleye

./extract-files.py --extract-factory /mnt/h/lineage-22.2-20260424-nightly-walleye-signed.zip
./extract-files.py --extract-factory /mnt/h/walleye-rp1a.201005.004.a1-factory-0c23f6cf.zip
- 编译:
brunch walleye
刷入设备
上面编译操作完成后,在目录out/target/product/walleye/中能看到若干个后缀为img的镜像文件。
然后我们将设备开启开发者模式,进入设置点击五次版本号,然后进入开发者选项选择 USB 调试和 OEM 解锁;
之后执行以下命令进入刷机模式并解锁 bootloader。
adb reboot bootloader
fastboot flashing unlock
完整刷机
cd ~/lineage22/out/target/product/walleye/

fastboot flash boot boot.img
fastboot flash dtbo dtbo.img
fastboot flash vbmeta vbmeta.img
fastboot flash system system.img
fastboot flash vendor vendor.img
fastboot.exe flash vendor_boot vendor_boot.img
fastboot.exe flash vbmeta --disable-verity --disable-verification vbmeta.img

# 清除数据
fastboot -w

# 重启
fastboot reboot
等待刷机结束,会自动进入系统。
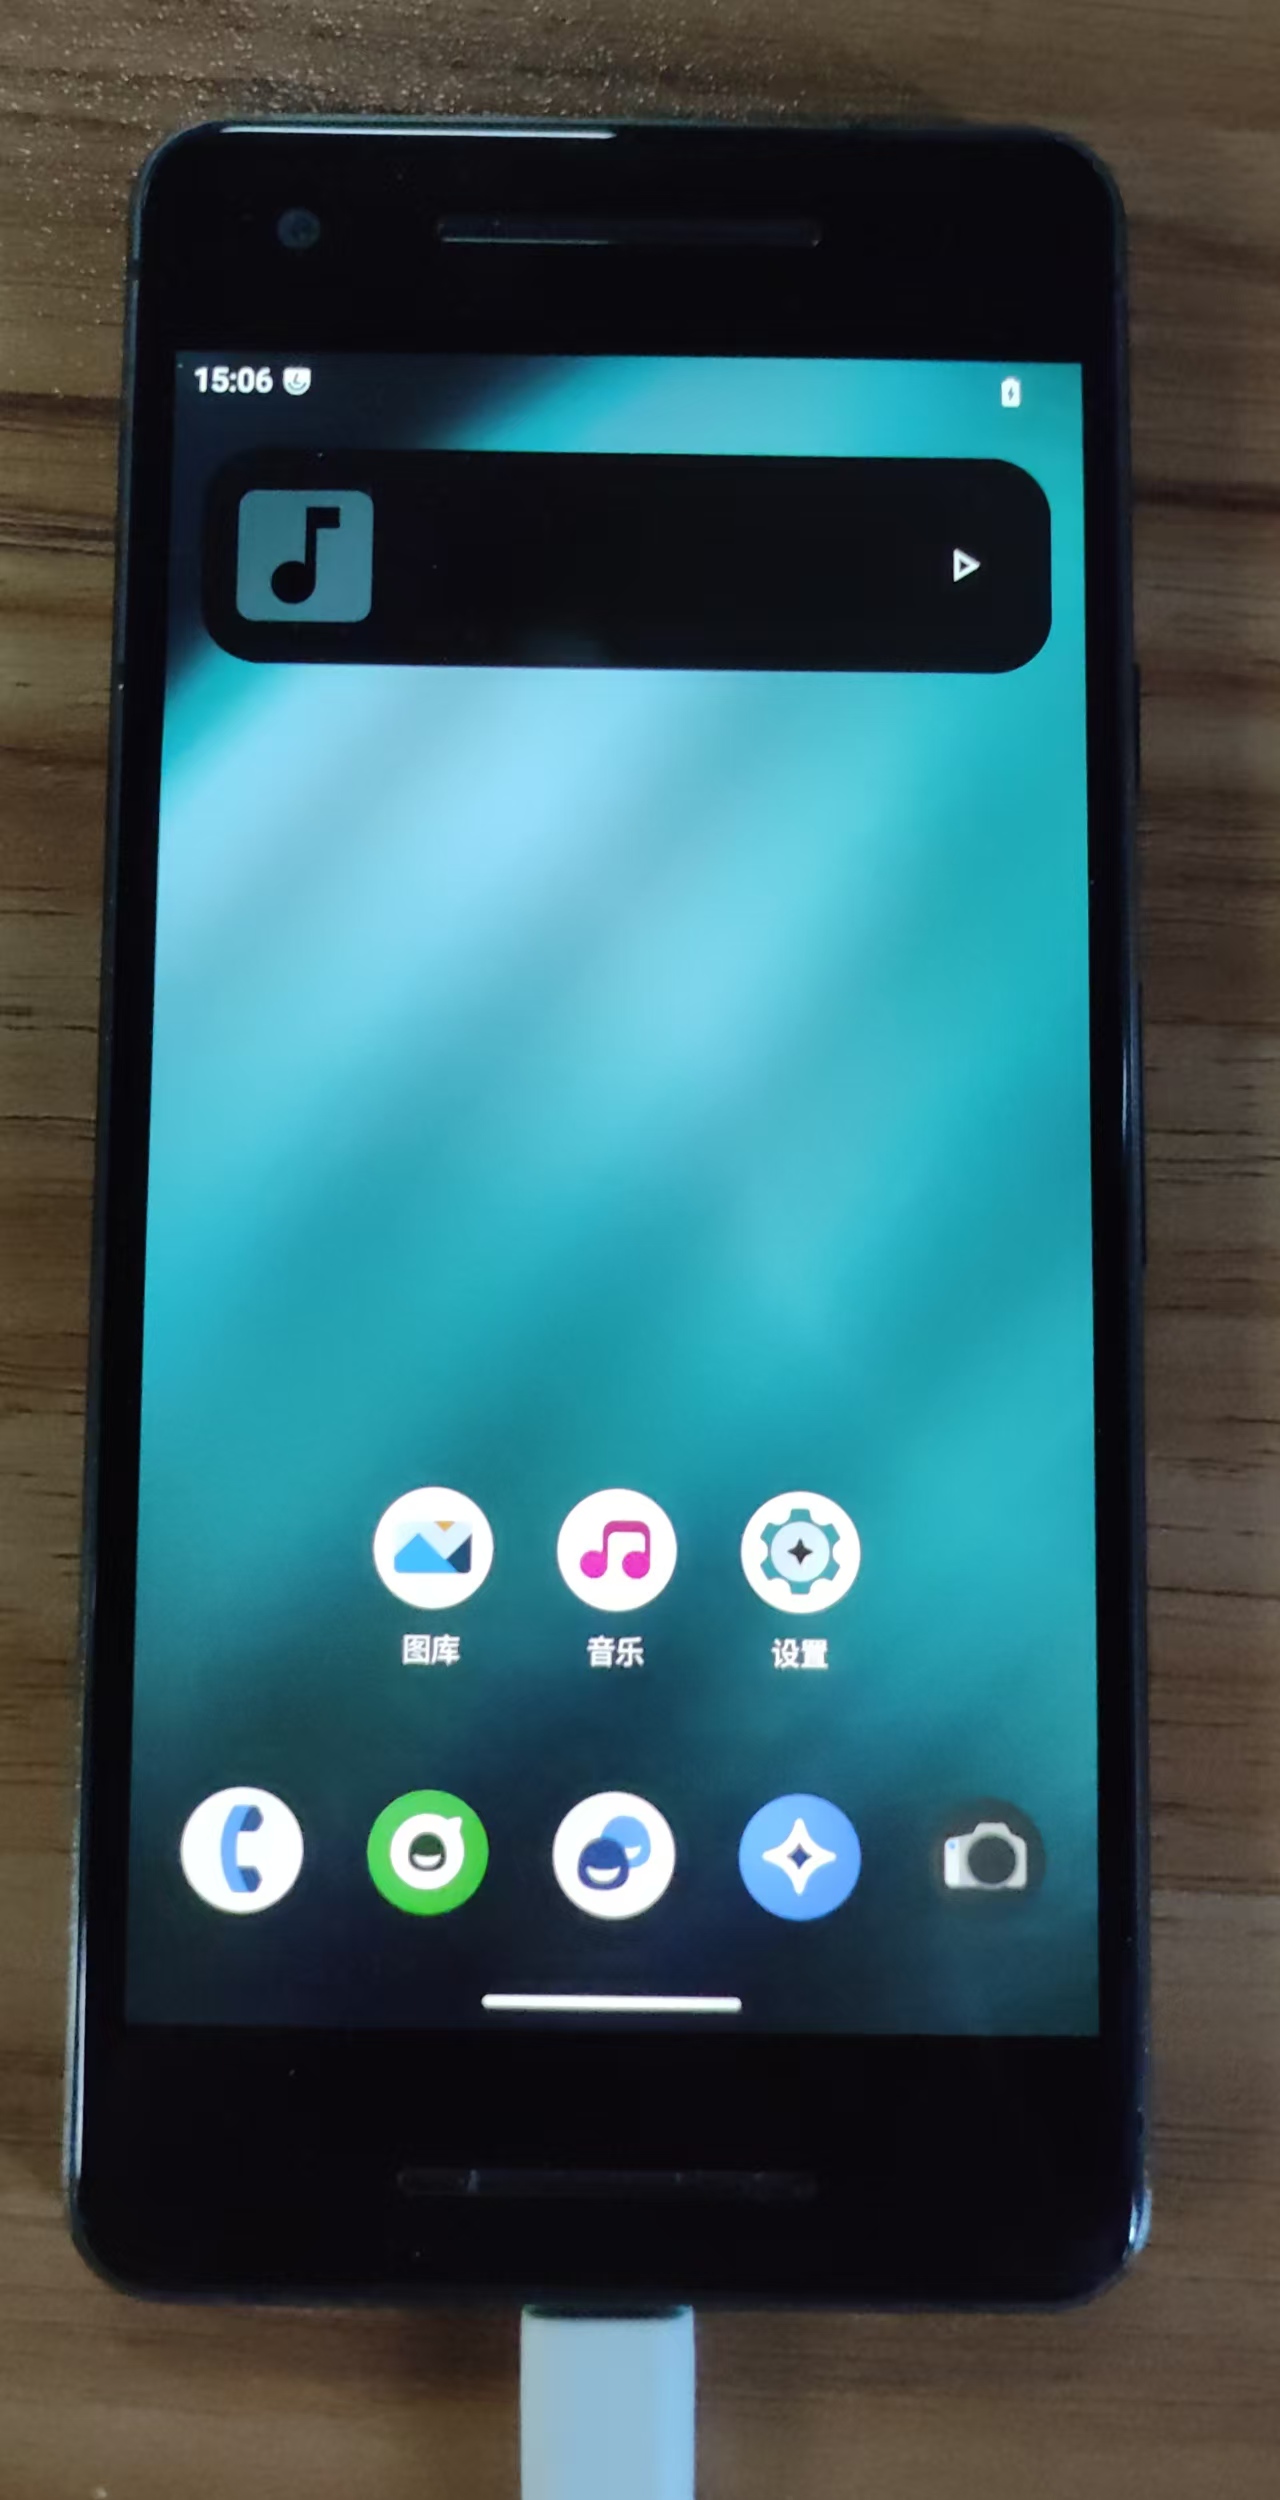
成功!